Detect Manufacturing Defects Using Visual Inspection AI: Our Guide
“Quality is never an accident; it is always the result of intelligent effort,” observed John Ruskin. This wisdom resonates deeply in today’s competitive landscape, where excellence determines market leadership.
The American Society for Quality reveals a startling truth: poor quality control costs organizations 15-20% of annual sales revenue. For larger producers, this translates to billions lost each year. These losses stem from flawed products reaching customers and inefficient production processes.

We believe intelligent technology provides the solution. Google Cloud’s visual inspection solution leverages advanced computer vision technologies and machine learning to transform quality assurance. This approach automates finding imperfections at scale across production lines.
Our guide explores how these intelligent systems work. We examine their implementation, benefits, and real-world applications. This technology represents a fundamental shift in how the manufacturing industry approaches quality control and defect detection.
Key Takeaways
- Poor quality control costs manufacturers 15-20% of annual sales revenue
- AI-powered inspection automates finding product imperfections
- Computer vision technologies enable accurate detection at scale
- Machine learning models continuously improve inspection accuracy
- Automated systems work across various production environments
- Implementation reduces costs while improving product quality
- Real-world applications show transformative results in multiple industries
Why Visual Inspection AI is Essential for Modern Manufacturing
Legacy quality control systems often fail to meet the precision requirements of contemporary manufacturing operations. Traditional approaches create significant bottlenecks that impact both product excellence and operational efficiency.
Manual examination processes depend heavily on human perception and individual experience. This dependency introduces inconsistency across shifts and production lines. Operator fatigue further compounds these challenges, especially during extended production runs.
Conventional automated systems present their own limitations. Rule-based machines require extensive programming for each product variation. They lack the flexibility to adapt when designs change or new imperfection patterns emerge.
Existing machine vision technologies can typically only identify a limited number of flaw types simultaneously. This restriction forces manufacturers to choose which quality issues to prioritize, potentially missing critical problems.
Intelligent examination solutions overcome these fundamental limitations. They eliminate human inconsistency while providing unprecedented adaptability. These systems learn from data rather than relying on rigid programming.
Advanced computer vision technologies powered by deep learning models can process hundreds of potential problem areas in seconds. They reduce cognitive load for quality teams, allowing operators to focus on higher-value tasks.
The financial imperative for this technology cannot be overstated. Poor quality management costs producers billions annually through waste, rework, and customer returns. Intelligent examination directly addresses these cost centers.
Industry leaders recognize this necessity. Recent surveys show 76% of manufacturing executives now invest in digital enablers like intelligent examination technologies. This represents a strategic shift toward operational excellence.
These solutions integrate seamlessly with existing production processes rather than replacing them entirely. They enhance current systems while providing the flexibility modern operations require.
This technology represents more than just a technical upgrade—it’s a strategic necessity for maintaining competitive advantage. The combination of speed, accuracy, and adaptability makes intelligent visual examination essential for contemporary manufacturing.
How AI-Powered Visual Inspection Works to Detect Defects
At its core, intelligent examination technology represents a sophisticated marriage of pattern recognition and computational power. This powerful combination enables automated systems to perform complex quality assessments with remarkable consistency.

We find the technology operates through a multi-layered approach that mimics human cognitive processes. It begins with high-resolution image capture and progresses through sophisticated analysis stages.
The Role of Machine Learning and Computer Vision
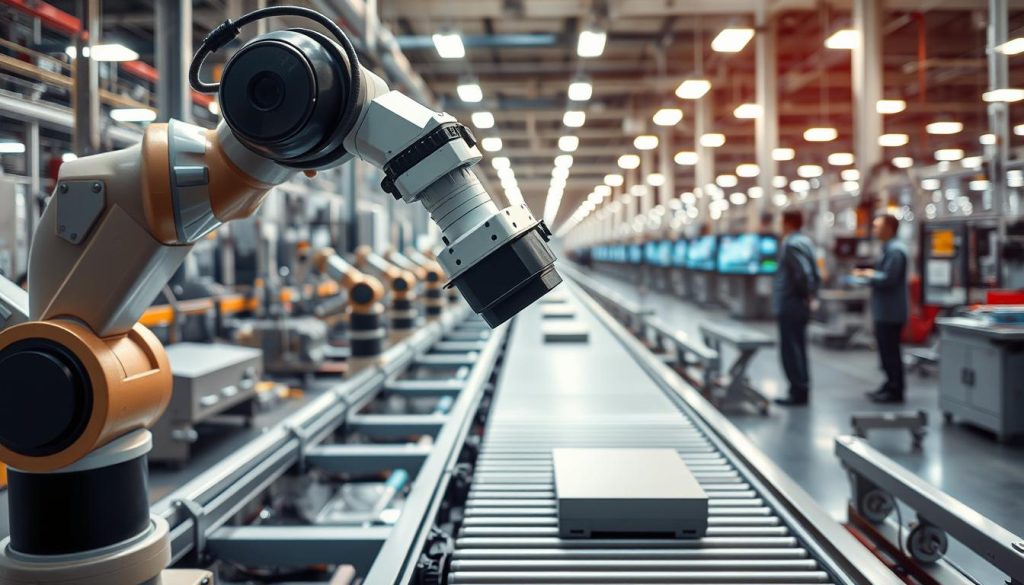
Computer vision technologies serve as the eyes of the operation. They capture detailed product images at incredible resolutions, sometimes exceeding 100 million pixels. This level of detail allows the system to see imperfections invisible to human observers.
Machine learning provides the brainpower behind the operation. These algorithms learn from labeled datasets containing thousands of product images. They identify subtle patterns that indicate various types of imperfections.
The learning process involves analyzing both acceptable and flawed items. This balanced approach teaches the model what constitutes proper quality. It learns to recognize deviations from expected standards.
Deep learning models excel at generalizing across different surfaces and materials. They can identify texture irregularities, color variations, and structural anomalies. This flexibility makes them invaluable across diverse production environments.
Data Requirements for Accurate Defect Detection
High-quality data forms the foundation of reliable automated examination. The system requires comprehensive datasets representing both normal and abnormal conditions. This balanced approach ensures accurate classification.
Data collection must occur under real production conditions. Consistent lighting, camera angles, and environmental factors are crucial. These controlled conditions ensure the model learns from representative examples.
Labeling precision directly impacts model performance. Each training image requires accurate annotation by quality experts. This meticulous process teaches the system what to look for during actual operations.
Google Cloud’s visual inspection solution demonstrates remarkable efficiency in this area. It typically requires up to 300 times fewer labeled images than general-purpose platforms. This efficiency significantly reduces implementation time and cost.
Continuous improvement represents another critical aspect. As the system operates, it collects new data from the production line. This ongoing data stream allows regular model retraining and accuracy enhancement.
The entire process transforms raw visual information into actionable quality insights. It represents a fundamental shift from reactive quality control to proactive excellence assurance. This technology empowers manufacturers to maintain consistently high standards.
Key Steps to Implement Visual Inspection AI in Your Production Line
Deploying advanced quality assurance systems demands a methodical implementation strategy across your facilities. We guide organizations through a proven six-phase approach that ensures successful integration with existing operations.
This framework balances technical requirements with practical business considerations. Each phase builds upon the previous one, creating a solid foundation for long-term success.
Step 1: Define Your Inspection Goals and Requirements
Begin with comprehensive business analysis to establish clear objectives. Identify specific imperfection types your system must recognize across various product lines.
Determine critical quality metrics and acceptable performance thresholds. Consider production volume, speed requirements, and integration points with existing equipment.
Assess data availability for different product variations and flaw categories. This analysis forms the blueprint for your entire implementation journey.
Step 2: Choose the Right AI Model Approach
Select between pre-trained solutions and custom development based on your specific needs. Standard models work well for common imperfection patterns across the industry.
Custom development becomes necessary for unique product characteristics or specialized quality requirements. Consider complexity, implementation timeline, and available expertise.
The following table illustrates key considerations when selecting your approach:
| Approach Type | Best For | Implementation Time | Data Requirements | Customization Level |
|---|---|---|---|---|
| Pre-trained Models | Common imperfection patterns | 2-4 weeks | Moderate dataset | Limited customization |
| Custom Development | Unique product specifications | 6-12 weeks | Extensive dataset | Full customization |
| Hybrid Approach | Mixed requirements | 4-8 weeks | Balanced dataset | Selective customization |
Step 3: Gather and Prepare High-Quality Data
Collect comprehensive image data from actual production environments. Ensure proper lighting conditions and camera angles that match operational requirements.
Implement meticulous labeling processes with quality experts annotating each image. Maintain dataset balance between acceptable and flawed items for accurate model training.
Perform exploratory data analysis to understand pattern distributions and potential challenges. This phase significantly impacts final system performance.
Step 4: Develop and Train Your Inspection Model
Select appropriate computer vision algorithms based on your business objectives. Classification models identify flaw types, while segmentation pinpoints exact locations.
Utilize deep learning techniques that automatically extract relevant features from image data. Split your dataset into training, validation, and testing subsets.
Train models iteratively, monitoring performance metrics at each stage. Evaluate against validation data to prevent overfitting and ensure generalization capability.
Step 5: Deploy and Integrate with Hardware Systems
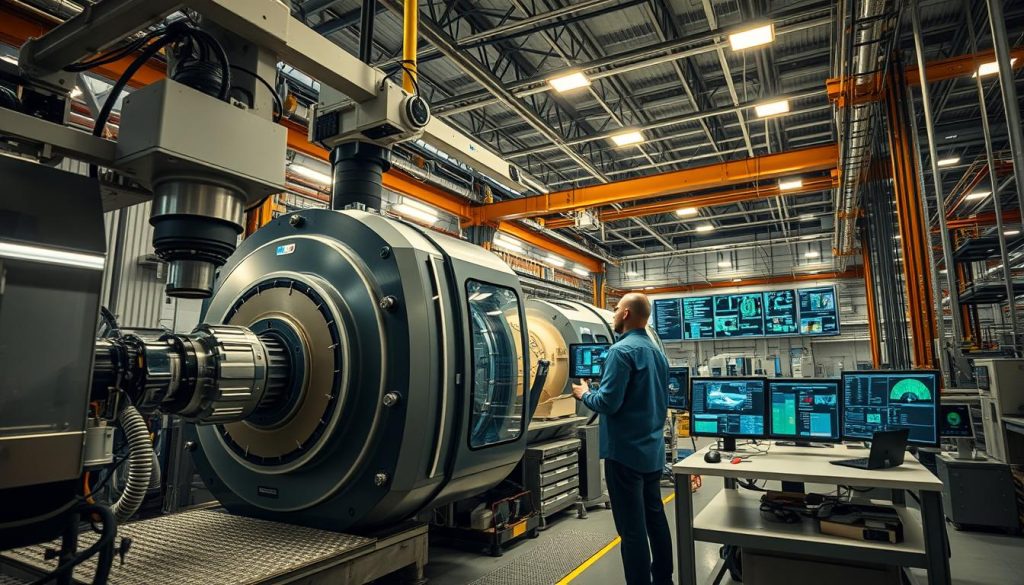
Integrate examination solutions with production line hardware including high-resolution cameras and processing units. Ensure real-time processing capabilities match line speed requirements.
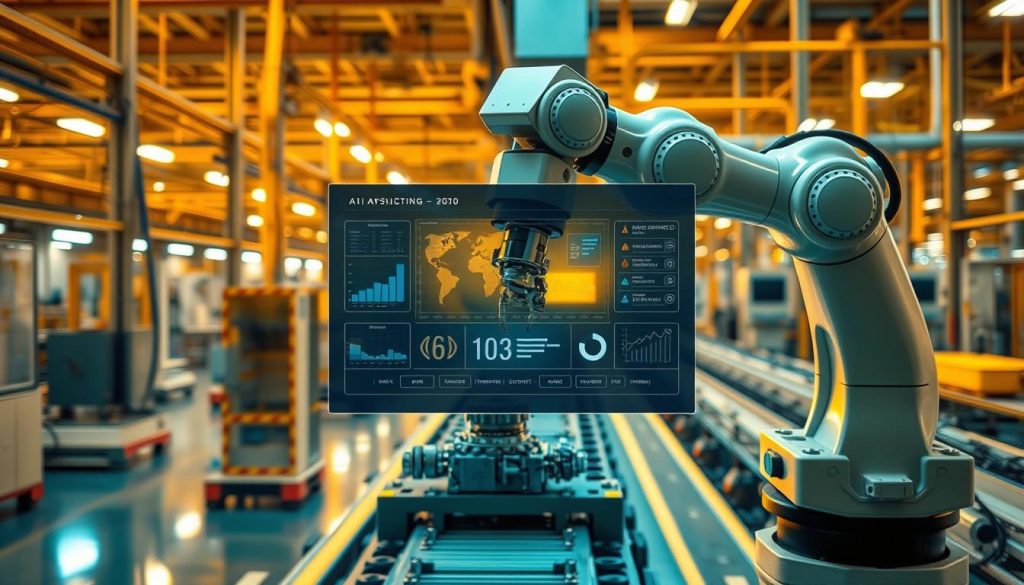
Consider specialized equipment for challenging inspection scenarios. Robotic arms or drones might be necessary for complex product geometries or hard-to-reach areas.
Establish seamless data flow between examination systems and existing quality management platforms. This integration enables comprehensive quality oversight.
Step 6: Continuously Monitor and Improve the System
Implement ongoing performance monitoring to track system accuracy and reliability. Establish alert mechanisms for performance degradation or new flaw patterns.
Regularly retrain models using new production data to maintain and improve detection capabilities. This continuous learning approach adapts to evolving product designs.
Schedule periodic system reviews to identify optimization opportunities. As your operations evolve, your examination capabilities should advance accordingly.
Following these steps creates a scalable, efficient visual inspection solution that integrates seamlessly with existing operations. Our team provides expert guidance throughout this process, ensuring optimal results for your specific requirements.
We invite you to contact us today for personalized assistance with your implementation journey. Together, we can transform your quality assurance processes and achieve operational excellence.
Benefits of Using AI for Defect Detection in Manufacturing
Modern production environments demand excellence that traditional methods struggle to deliver consistently. We recognize how intelligent examination systems transform operational outcomes through measurable improvements.
These advanced solutions deliver superior performance across multiple dimensions. They combine technical sophistication with practical business benefits that directly impact profitability.

Accuracy represents the most significant advantage of these systems. Google Cloud’s approach demonstrates up to ten times better performance compared to conventional machine learning methods.
This enhanced precision reduces false positives and missed imperfections. It ensures only truly flawed items get flagged for review or rejection.
Cost reduction emerges as another critical benefit. Lower scrap rates and minimized rework translate directly into improved margins. Warranty claims decrease as product reliability increases.
Time-to-value acceleration distinguishes these solutions from traditional implementations. Deployment typically occurs within weeks rather than months. Pre-built components and user-friendly interfaces streamline the process.
Operational autonomy provides additional advantages. On-premises execution ensures data security and real-time processing. Edge computing capabilities eliminate latency concerns.
Scalability enables expansion across multiple facilities with minimal investment. The same core technology adapts to different production environments and product variations.
Comprehensive analysis capabilities represent another key benefit. Single-image processing can identify, classify, and locate multiple flaw types simultaneously. This multi-dimensional assessment triggers automated responses without human intervention.
Reduced data requirements lower implementation barriers. These systems need up to 300 times fewer labeled images than general-purpose platforms. This efficiency accelerates model training and deployment.
High-resolution processing capabilities ensure no detail goes unnoticed. The technology captures subtleties invisible to human observers or conventional systems.
The following table summarizes key performance advantages:
| Benefit Category | Performance Metric | Business Impact | Implementation Consideration |
|---|---|---|---|
| Accuracy Improvement | Up to 10x better detection | Higher product quality | Reduced false positives |
| Cost Reduction | Lower scrap and rework | Improved profit margins | Quick ROI realization |
| Deployment Speed | Weeks instead of months | Faster value capture | Pre-built components |
| Data Efficiency | 300x fewer images needed | Lower implementation cost | Reduced labeling effort |
| Processing Capability | Multiple flaw types per image | Comprehensive quality assurance | Automated response triggering |
| System Scalability | Cross-facility deployment | Standardized quality processes | Minimal additional investment |
These advantages collectively drive broader organizational success. Customer satisfaction increases through consistent product excellence. Operational yield improves while competitive positioning strengthens.
The tangible nature of these benefits makes a compelling case for adoption. Measurable outcomes demonstrate clear value beyond theoretical potential.
We invite you to explore how these advantages can transform your specific operations. Our team provides personalized consultations to address your unique requirements and challenges.
Contact us today at https://opsiocloud.com/contact-us/ to begin your journey toward operational excellence. Together, we can implement solutions that deliver measurable improvements across your production environment.
Real-World Use Cases of Visual Inspection AI Across Industries
Industry leaders worldwide have successfully deployed intelligent quality systems with measurable operational improvements. These implementations demonstrate the technology’s adaptability across diverse production environments and quality requirements.
We examine specific applications that highlight the practical benefits organizations achieve. Each case study reveals how tailored solutions address unique operational challenges.
Automotive Manufacturing Applications
Automotive producers leverage advanced examination systems for critical quality checks. These solutions identify imperfections in paint surfaces, welding seams, and press shop components.
One manufacturer achieved remarkable consistency in finish quality assessment. Their system processes thousands of vehicle surfaces daily with unprecedented precision.
Another implementation focuses on structural integrity verification. Welding seam examination ensures every joint meets rigorous safety standards before assembly completion.
Electronics and Semiconductor Inspection
Electronics manufacturers require extreme precision for component validation. Intelligent systems identify wafer anomalies, die cracks, and PCB assembly issues with exceptional accuracy.
FIH Mobile transformed their printed circuit board operations through Google Cloud collaboration. They achieved considerable product improvements and operational efficiency.
Kyocera Communication Systems scaled their expertise remarkably. They created accurate models with as few as 10-20 imperfect images, demonstrating data efficiency.
GlobalFoundries reached a 95% validation rate in lithography processes. This achievement reduced waste significantly while improving customer satisfaction through automated examination.
General Manufacturing and Quality Control
Beyond specialized sectors, general manufacturing benefits greatly from intelligent quality systems. Applications include packaging inspection, fabric assessment, and welding evaluation.
Siemens revolutionized their manufacturing operations with automated examination. They focused on practical use cases and measurable customer value creation.
LG CNS achieved a 6% improvement in finding imperfections. They reduced model training time from seven days to hours using AutoML Vision Edge technology.
These examples demonstrate the tangible impact across diverse industries. They provide proof of concept for organizations considering similar implementations.
We help manufacturers achieve comparable results through tailored solutions. Our approach considers specific production requirements and quality objectives.
Contact our team to explore how these success stories can translate to your operations. Together, we can develop solutions that address your unique challenges and opportunities.
Conclusion: Transform Your Manufacturing Quality Control Today
Intelligent quality systems represent the future of operational excellence across production environments. These solutions deliver remarkable precision through advanced computer vision and deep learning technologies.
We’ve demonstrated how these systems achieve rapid deployment with minimal data requirements. They provide consistent accuracy across diverse product lines and quality standards.
The technology integrates seamlessly with existing equipment while offering scalable solutions. Real-world applications confirm significant improvements in operational efficiency and product reliability.
We invite you to explore how these advancements can transform your quality processes. Our team provides expert guidance tailored to your specific operational needs and objectives.
Contact us today at https://opsiocloud.com/contact-us/ to begin your journey toward superior quality control. Together, we’ll implement solutions that drive measurable improvements across your production environment.
FAQ
What types of flaws can AI-powered visual inspection identify?
Our solutions recognize a wide range of imperfections, including scratches, dents, misalignments, surface inconsistencies, and missing components. The system learns from labeled examples to spot both common and rare anomalies, ensuring comprehensive oversight throughout your assembly process.
How does deep learning improve accuracy over traditional methods?
Deep learning models analyze complex patterns within images that conventional rule-based systems often miss. They adapt to subtle variations and new defect types over time, significantly reducing false positives and increasing detection rates without constant manual recalibration.
What infrastructure is needed to integrate this technology?
Implementation typically requires cameras, lighting systems, and computing hardware compatible with your production environment. We help select and integrate these components seamlessly, ensuring minimal disruption while maximizing performance and reliability on your factory floor.
Can these systems operate in real-time on high-speed lines?
Yes, our computer vision technologies process images instantaneously, allowing for immediate decisions and feedback. This enables real-time quality control even at high production rates, preventing defective items from advancing further in the manufacturing process.
How long does it take to train an effective inspection model?
Training duration depends on defect complexity and data availability, but initial models often become operational within weeks. Continuous learning refines performance over time, with our team providing ongoing support to ensure your system evolves alongside your quality standards.