Machine Vision Inspection Explained
Could a robotic eye see quality flaws that even your most experienced technician might miss? This question lies at the heart of a technological revolution quietly transforming factory floors worldwide. We are witnessing a fundamental shift in how industries guarantee product excellence.

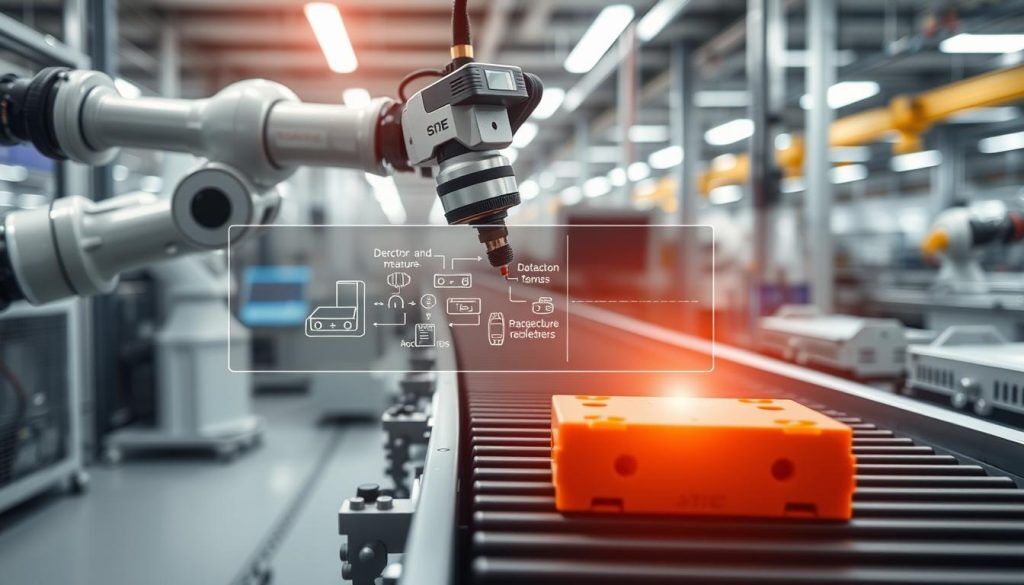
These advanced systems combine industrial cameras, powerful computers, and sophisticated algorithms. They automate the critical task of quality control, a cornerstone of modern manufacturing. This technology captures detailed digital images and analyzes them against precise criteria with incredible speed and consistency.
The evolution from basic contrast detection to today’s high-resolution, AI-powered solutions is remarkable. This progression enables the detection of microscopic defects, ensuring unparalleled product integrity. For a deeper exploration of how these components work together, our comprehensive guide on machine vision inspection provides detailed insights.
We partner with organizations to implement these powerful vision and inspection solutions. Our goal is to enhance operational efficiency, reduce costs, and protect brand reputation by preventing defective products from ever reaching the consumer.
Key Takeaways
- Machine vision automates quality control using cameras and computers.
- These systems offer superior speed and accuracy compared to manual methods.
- The technology has evolved to include high-resolution imaging and artificial intelligence.
- Automated inspection is critical in industries where defects have serious consequences.
- Implementation leads to enhanced product quality, reduced costs, and stronger brand protection.
- It represents a significant advancement in industrial automation and process reliability.
Introduction to Machine Vision Inspection
Digital imaging technology has revolutionized industrial quality assurance, evolving from simple presence detection to complex analytical capabilities. This progression represents a fundamental shift in how manufacturers maintain product excellence throughout production cycles.
Defining the Concept
We define this advanced approach as a sophisticated computer-based methodology that integrates digital cameras, specialized lighting, and calibrated lenses. These hardware components work in concert with powerful image processing algorithms to automatically evaluate products for quality compliance.
The technology captures detailed digital images and analyzes them against precise criteria with remarkable consistency. This comprehensive solution encompasses both the physical equipment and the analytical software that drives decision-making processes.
Historical Evolution and Modern Advances
Vision inspection systems have undergone dramatic transformation since their 1960s origins. Early versions could barely distinguish basic black-and-white contrasts, while contemporary platforms leverage high-resolution color imaging and 3D scanning technologies.
Modern advances have elevated these systems from simple checking tools to comprehensive quality control solutions. Today’s technology performs complex tasks including dimensional measurement, surface analysis, and real-time defect classification across hundreds of inspections per minute.
These technological developments enable manufacturers to maintain consistent standards regardless of production volume. The systems eliminate human variability while providing detailed analytics that support continuous operational improvement.
Overview of Vision Systems and Their Components
The architecture of automated inspection technology comprises two distinct yet interconnected domains: the physical hardware that captures visual data and the computational software that interprets it. We design these comprehensive systems to work in perfect harmony, delivering reliable quality control outcomes through seamless integration.
Key Hardware Elements
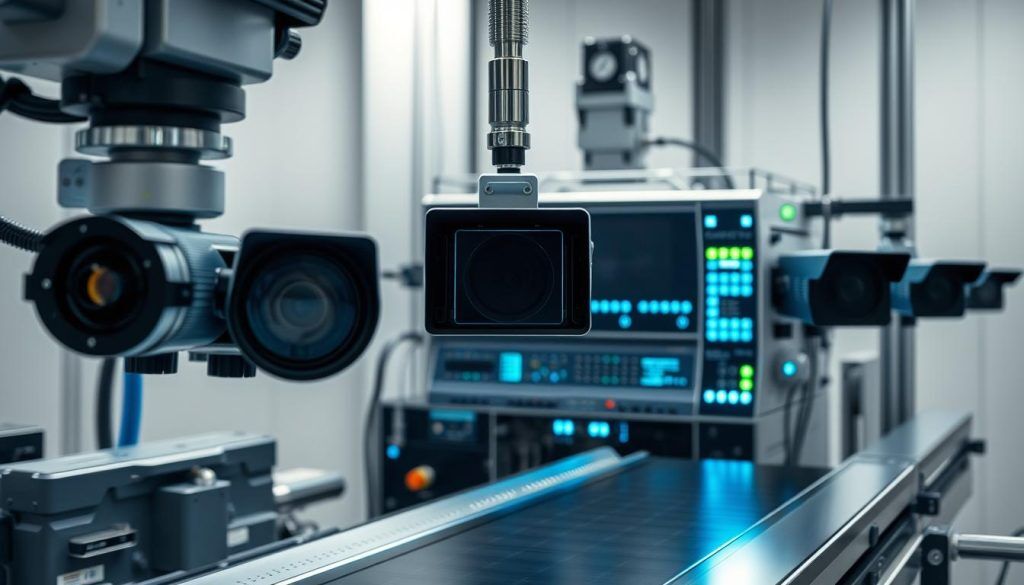
Our hardware components form the physical foundation of every inspection solution. Industrial-grade cameras with high-resolution sensors capture detailed images at production line speeds. Calibrated lenses ensure optical precision while minimizing distortion.
Structured lighting systems highlight specific product features for accurate analysis. LED, fluorescent, or specialized illumination brings out edge clarity and surface texture details. Mounting hardware positions these elements for optimal coverage of inspection zones.
Essential Software and Processing Units
The computational backbone of our vision systems ranges from industrial PCs to embedded devices like NVIDIA Jetson. Each processing unit configuration meets specific performance requirements for speed and resolution.
Software solutions transform raw images into quality decisions using advanced algorithms. Classical computer vision techniques handle straightforward inspections, while deep learning models address complex scenarios. These tools integrate with manufacturing systems for real-time pass/fail decisions and comprehensive data logging.
How Vision Inspection Systems Work
At the core of industrial quality control lies a sophisticated sequence of visual data capture and intelligent analysis. We design these processes to operate seamlessly within production environments, delivering consistent results regardless of throughput volumes.
Image Capture and Lighting Techniques
Our approach begins with precisely calibrated optical systems capturing high-quality images. Industrial cameras with specialized lenses work in concert with tailored lighting configurations to highlight critical product features.
Different lighting methods serve distinct inspection purposes. Backlighting creates clear silhouettes for dimensional verification, while diffuse illumination minimizes glare on reflective surfaces. Structured lighting reveals three-dimensional characteristics essential for complex surface analysis.
| Lighting Technique | Primary Application | Key Advantage | Common Use Cases |
|---|---|---|---|
| Backlighting | Dimensional measurement | High contrast edges | Part presence verification |
| Diffuse Lighting | Reflective surfaces | Glare reduction | Metal parts, packaging |
| Structured Light | 3D surface analysis | Depth measurement | Complex geometries |
| Dark Field | Surface defects | Scratch detection | Glass, polished metals |
Automated Analysis and Decision Making
Captured images undergo immediate processing through advanced algorithms. These systems compare product characteristics against predefined quality standards with microsecond precision.
The automated decision-making capability flags deviations and triggers appropriate responses. This occurs hundreds of times per minute without accuracy degradation, ensuring consistent quality control throughout production cycles.
What is Machine Vision Inspection?
Modern production facilities rely on sophisticated optical technologies to maintain consistent quality standards across thousands of units. These automated systems perform comprehensive evaluations that replace subjective human judgment with objective, data-driven assessments.
We categorize the primary types of automated optical evaluations into six distinct categories. Each addresses specific quality control challenges that manufacturers face daily.
Defect and flaw detection identifies surface imperfections that compromise part integrity. These systems spot scratches, discoloration, and structural inconsistencies invisible to human eyes.
Presence verification confirms all required components exist in each assembly. This critical check prevents missing parts from advancing through production lines.
Label matching and code reading ensure product identification accuracy. Barcode validation and optical character recognition maintain supply chain integrity.
Dimensional measurement provides laboratory-grade precision for size verification. Positioning checks confirm proper component orientation for both function and appearance.
These diverse inspection tasks demonstrate the versatility of automated vision solutions across various industrial applications.
Benefits of Machine Vision Inspection in Quality Control
Beyond the technical capabilities, the strategic value of automated quality verification systems manifests in tangible business outcomes. We implement these solutions to deliver measurable improvements across critical manufacturing metrics, transforming quality assurance from a cost center to a competitive advantage.

Enhanced Accuracy and Repeatability
These automated systems eliminate the variability inherent in human assessment. Factors like fatigue and subjective interpretation no longer compromise detection rates.
Every product receives identical evaluation criteria regardless of production volume. This consistency prevents defective items from advancing through supply chains.
Optical technologies identify microscopic flaws exceeding human visual limits. They detect subtle color variations and dimensional deviations measured in microns.
Cost and Time Efficiency
Automated verification significantly reduces rework expenses and scrap rates. Early detection of process drift minimizes late-stage failures and warranty claims.
These systems process high volumes without creating bottlenecks. They operate continuously at line speeds, inspecting hundreds of units per minute.
The technology reduces reliance on manual labor for repetitive tasks. Staff can focus on higher-value activities like process optimization.
These combined advantages translate to improved first-pass yield rates and strengthened brand reputation. Organizations achieve consistent delivery of defect-free products that meet regulatory requirements.
Integrating Vision Systems with Advanced Software Solutions
Sophisticated algorithms transform captured images into actionable business intelligence, elevating quality assurance beyond simple defect detection. We design these integrated platforms to provide comprehensive quality management rather than isolated checking functions.
AI and Deep Learning in Inspection
Artificial intelligence brings unprecedented adaptability to quality control challenges. Deep learning models like convolutional neural networks classify complex defect patterns with remarkable accuracy.
Object detection algorithms identify multiple flaws within single images simultaneously. These intelligent systems handle product variability that challenges traditional rule-based approaches.
Real-Time Data Collection and Reporting
Our solutions capture detailed information about every inspected product in real-time. This continuous data stream feeds directly into manufacturing execution systems and quality dashboards.
Engineers access immediate insights about defect trends and process performance. This enables proactive optimization rather than reactive problem-solving.
| Algorithm Type | Primary Function | Key Advantage |
|---|---|---|
| Convolutional Neural Networks | Defect classification | Handles complex patterns |
| Object Detection Models | Multi-defect identification | Simultaneous analysis |
| Segmentation Algorithms | Pixel-level mapping | Precise measurement |
| Anomaly Detection | Novel defect identification | No defect library required |
Machine Vision Inspection in Manufacturing Processes
Across today’s advanced production environments, sophisticated optical verification methods operate seamlessly within manufacturing processes. These automated systems integrate directly into assembly lines, providing continuous quality assessment without disrupting workflow efficiency.
Automotive and Electronics Applications
In automotive manufacturing, our systems verify critical safety parameters throughout the assembly process. They inspect weld seam integrity on body panels and confirm proper installation of safety components like airbags and seatbelts. Line-scan cameras enable real-time evaluation of large parts moving continuously through production.
Electronics manufacturing relies on high-resolution systems for printed circuit board verification. These solutions check solder joint quality, component placement accuracy, and trace routing integrity. They replace multi-stage manual checks while significantly reducing false pass rates that allow defective products to advance.
Inline and Offline Inspection Strategies
We deploy inline inspection systems directly within production lines to evaluate every product at manufacturing speeds. This approach provides immediate pass/fail feedback and maintains continuous production flow without creating bottlenecks.
Offline strategies serve complex measurements requiring detailed analysis. These stations handle dimensional verification, root cause analysis, and new product program development. We help manufacturers select optimal deployment approaches that balance inspection thoroughness with production throughput requirements.
Applications of Machine Vision Across Industries
The versatility of automated quality control technology extends far beyond traditional manufacturing environments into life-critical sectors. We implement specialized systems adapted to unique industry requirements, from hygiene standards to documentation needs.
Food and Beverage, Pharmaceuticals, and Medical Devices
In food production, our systems verify packaging integrity and detect contaminants. They ensure accurate fill levels and validate label information for allergen warnings.
Pharmaceutical applications demand precision for medication safety. These solutions inspect tablet quality and verify serialization codes for regulatory compliance.
Medical device manufacturers rely on our technology for microscopic defect detection. They verify dimensional accuracy of critical components like surgical instruments.
Other Critical Industrial Sectors
Power generation facilities use optical verification for turbine blade inspection. Oil and petroleum industries monitor pipeline integrity with advanced imaging.
Aerospace manufacturing requires stringent quality checks for engine components. Packaging operations verify print quality and barcode accuracy at high speeds.
Across all sectors, these applications share enhanced product safety and improved regulatory compliance. They reduce liability exposure while strengthening brand reputation through consistent quality delivery.
Contact and Expert Support for Your Inspection Needs
Implementing advanced optical verification technology requires careful planning and expert guidance to maximize operational benefits. We provide comprehensive consultation services designed to match specific production requirements with optimal technical solutions.
Reach Out Today for More Information
Our team offers detailed assessments of your current quality control challenges. We analyze production environments and identify opportunities for improvement through automated verification systems.
Initial consultations include technology education sessions and capability demonstrations. These interactions help clarify how our solutions can address your specific inspection requirements.
How to Get a Custom Demo
We provide tailored demonstration opportunities showcasing technology performance with your actual products. Both on-site and application center options are available for thorough evaluation.
Our specialists work directly with your team to configure optimal system parameters. This hands-on approach ensures accurate assessment of inspection capabilities before implementation.
| Consultation Type | Primary Focus | Duration | Outcome |
|---|---|---|---|
| Needs Assessment | Current process analysis | 2-4 hours | Identified improvement areas |
| Technology Education | Solution capabilities | 1-2 hours | Understanding of possibilities |
| Custom Demonstration | Real-world application | Variable | Performance validation |
| Implementation Planning | Integration strategy | 3-5 hours | Deployment roadmap |
Contact us today at https://opsiocloud.com/contact-us/ to begin transforming your quality control processes. Our expert team provides ongoing support throughout implementation and optimization phases.
Conclusion
In today’s competitive landscape, adopting advanced visual inspection capabilities represents more than technological adoption—it signifies strategic foresight. We have demonstrated how these systems deliver transformative quality control that manual methods cannot match.
As regulatory standards grow increasingly stringent across manufacturing sectors, automated vision solutions provide reliable compliance documentation. This technology reduces liability risks while protecting brand reputation from defects and violations.
The market for machine vision inspection continues rapid expansion, driven by AI advancements and improved affordability. We encourage manufacturers to evaluate how these systems can enhance their operational performance and position them for future success.
Contact our expert team to begin transforming your quality control capabilities through advanced vision technology.
FAQ
How do vision systems improve product quality control?
Our systems enhance quality control by performing highly accurate, repeatable inspections on every unit. They identify minute defects, measure critical dimensions, and verify assembly compliance with unparalleled consistency, drastically reducing human error and ensuring only products that meet specifications proceed down the line.
What types of hardware are essential for a complete vision inspection setup?
A robust setup integrates several key hardware components. This includes high-resolution industrial cameras, specialized lighting to illuminate the target, lenses for optimal image capture, and a processing unit. We tailor the selection of these devices to your specific application for maximum performance and efficiency.
Can these systems be integrated into existing production and assembly processes?
A>Absolutely. We design our solutions for seamless integration into both new and existing manufacturing processes. Whether you require inline inspection for 100% verification at high speeds or offline analysis for detailed component checks, our team ensures minimal disruption while maximizing operational benefits.
What role does software play in modern machine vision?
Advanced software solutions are the intelligence behind the hardware. They process captured images using sophisticated algorithms, including AI and deep learning, to make real-time decisions. This software also provides valuable data collection and reporting capabilities, offering insights into production trends and potential issues.
Which industries benefit most from automated vision inspections?
While manufacturing sectors like automotive and electronics are primary users, the applications are vast. Industries with stringent safety and compliance standards, such as pharmaceuticals, medical devices, and food processing, rely heavily on our technology for packaging integrity, label verification, and contamination detection.
How does edge computing enhance vision inspection capabilities?
Edge computing brings data processing closer to the inspection point, significantly reducing latency. This allows for faster decision-making in high-speed production environments and enables real-time feedback for immediate process adjustments, boosting overall system efficiency and responsiveness.

