Detecting Glass Bottle Defects using Vision AI: Our Expert Guide
“Quality is never an accident; it is always the result of intelligent effort,” observed John Ruskin, a truth that resonates powerfully in today’s manufacturing landscape. Recent incidents, like the Western Australia rosé wine recall where glass shards were discovered, underscore the critical need for superior quality control measures.
We recognize that even minor imperfections in production can lead to significant consequences, compromising both product safety and brand reputation. This reality drives our commitment to advanced technological solutions that transform traditional approaches.

Our comprehensive approach combines machine learning algorithms with high-resolution imaging capabilities, creating systems that outperform manual methods in both speed and accuracy. This represents more than technological advancement—it’s essential infrastructure for modern operations seeking competitive advantage.
We provide manufacturing professionals with practical implementation strategies that deliver tangible return on investment. Our guidance stems from deep technical expertise and understanding of business implications, ensuring solutions that work in real-world environments.
Key Takeaways
- Automated inspection systems prevent costly quality control issues before they reach consumers
- Recent industry incidents demonstrate the critical importance of rigorous quality assurance
- Advanced technology combines machine learning with high-resolution imaging for superior results
- Implementation delivers measurable return on investment through improved efficiency and reduced recalls
- Modern manufacturing requires data-driven approaches that outperform traditional manual methods
- Proper integration transforms quality control from reactive problem-solving to proactive prevention
- Expert guidance ensures both technical success and business value from implementation
Understanding the Critical Need for Flawless Glass Bottles
In today’s fast-paced production environments, container integrity has become a non-negotiable priority for manufacturers across industries. We recognize that even the smallest imperfections can cascade into significant operational challenges, affecting both consumer safety and brand perception.
The High Stakes of Defects in Modern Manufacturing
Manufacturing operations face substantial financial and reputational risks when flawed containers enter production lines. A single compromised item can trigger extensive recalls, resulting in millions in losses and lasting damage to consumer trust.
The corking process for premium beverages presents particular challenges. High-pressure insertion often causes neck damage that compromises seal integrity. This creates contamination risks that can affect entire production batches.
Contemporary production speeds amplify these quality control challenges. Human inspectors cannot reliably identify issues at rates exceeding thousands of units per hour. This limitation creates critical gaps in protection systems.
Common Glass Bottle Defects That Compromise Quality and Safety
We categorize imperfection types into three primary groups that demand attention. Structural flaws include micro-fractures and edge damage that weaken container integrity. Contamination issues encompass foreign particles and material inconsistencies. Dimensional variations affect packaging compatibility and final presentation.
Even minute imperfections invisible to human observers can create significant problems. These subtle flaws escalate into safety concerns and regulatory compliance issues, particularly in food and beverage applications.
The wine industry provides compelling evidence of these risks. Market recalls demonstrate how quality control failures directly impact consumer confidence and brand valuation. These cases underscore the operational consequences of specific imperfection types.
Prevention begins with understanding the complete spectrum of potential flaws. Issues range from pre-production material inconsistencies to post-filling handling damage. Each stage requires specific monitoring approaches.
The business case for perfect containers extends beyond basic compliance. It encompasses brand protection, customer satisfaction, and supply chain efficiency. These factors collectively contribute to sustainable operational success.
What is Glass Bottle Defect Detection with Vision AI?
The evolution of quality control has reached a pivotal moment where artificial intelligence redefines what’s possible in production environments. We approach this technological advancement as a comprehensive solution that integrates multiple sophisticated components working in harmony.
This represents more than automated checking—it’s an intelligent system that continuously improves its capabilities through experience and data analysis. The technology fundamentally transforms how manufacturers approach container integrity and consumer safety.
Beyond Human Sight: How Machine Vision Technology Works
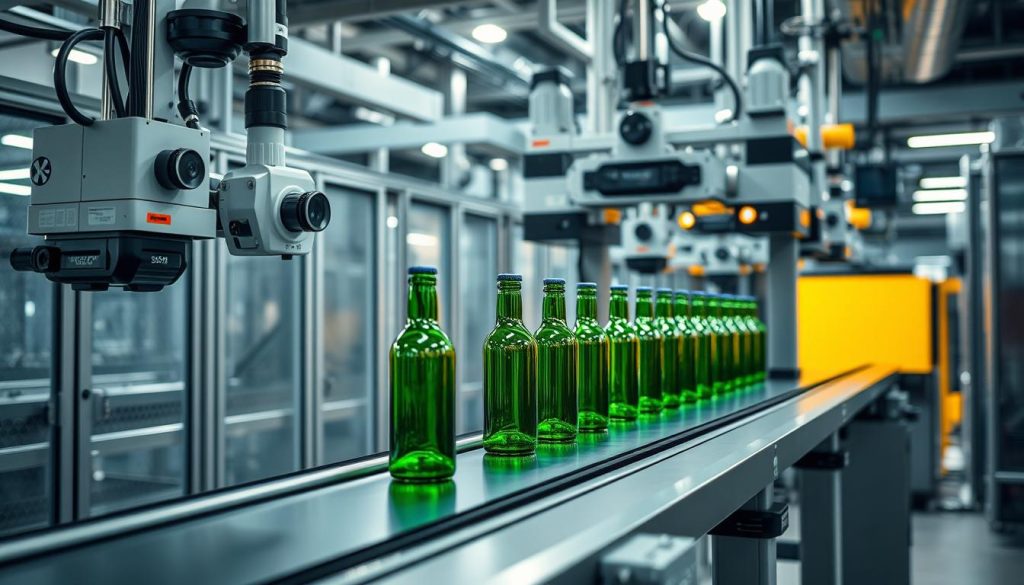
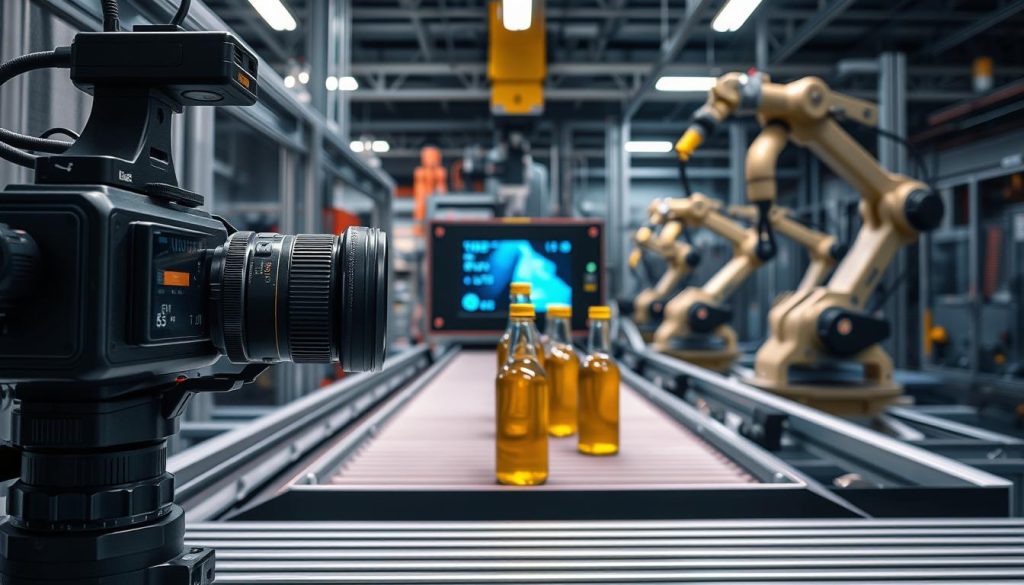
Modern inspection systems employ advanced imaging techniques that capture detailed visual data from multiple perspectives. Specialized lighting configurations reveal imperfections that remain invisible under normal production conditions.
High-resolution cameras capture thousands of images per minute, each analyzed for minute variations from perfection. The system processes this visual information through sophisticated algorithms that identify even sub-millimeter inconsistencies.
This technology operates at speeds that far exceed human capabilities while maintaining consistent accuracy. It represents a significant advancement in manufacturing quality assurance, providing comprehensive coverage that manual methods cannot achieve.
The Role of Deep Learning and AI Algorithms in Inspection
Artificial intelligence forms the cognitive core of contemporary inspection solutions, employing neural networks that learn from extensive training datasets. These systems develop pattern recognition capabilities that improve with each container examined.
The algorithms compare captured imagery against vast databases of acceptable and flawed characteristics. This comparative analysis enables the system to make accurate decisions about container integrity in milliseconds.
We implement adaptive learning mechanisms that allow continuous improvement of detection accuracy. Each production run contributes valuable data that enhances the system’s ability to identify increasingly subtle imperfections.
This approach ensures that manufacturing operations benefit from evolving intelligence that keeps pace with production challenges. The technology represents a paradigm shift from reactive quality control to proactive perfection assurance.
Core Components of a Vision AI Inspection System
Building an effective quality control solution requires meticulous integration of specialized hardware and intelligent software components. We approach this as a comprehensive engineering challenge where each element must contribute to overall detection reliability.
Successful implementation begins with understanding how specialized equipment and advanced algorithms interact to achieve superior results. The right combination ensures both precision and operational efficiency.

Selecting the Right High-Definition Cameras and Lenses
Camera selection forms the visual foundation of any inspection approach. Resolution requirements directly impact the system’s ability to identify minute imperfections.
We recommend matching camera specifications with production line speeds and detection precision needs. Higher-resolution models capture more detail but require optimized processing capabilities.
Lens selection complements camera performance by ensuring proper focus and image clarity. Specialized optics reveal surface flaws that standard lenses might miss.
The Central Role of AI-Powered Defect Detection Software
Intelligent algorithms serve as the decision-making core of modern inspection solutions. These systems process captured images using machine learning techniques.
The software compares visual data against extensive databases of acceptable and flawed characteristics. This enables real-time accept/reject decisions with remarkable consistency.
Adaptive learning mechanisms allow continuous improvement of detection capabilities. Each production run contributes valuable data that enhances system intelligence.
Integrating Lighting, Sensors, and Handling Systems
Proper illumination configuration is critical for defect visibility. Specialized lighting techniques reveal stress points and surface inconsistencies that conventional methods cannot detect.
Sensor integration enables precise container positioning and timing coordination. This ensures image capture occurs at optimal moments when imperfections are most visible.
Handling systems must transport items gently through inspection stations while maintaining orientation consistency. Proper design prevents additional damage during quality control processes.
We emphasize that component selection requires balancing technical specifications with operational requirements. The integration between hardware and software creates a synergistic approach where each element enhances the others’ capabilities.
Step-by-Step: Implementing Vision AI on Your Production Line
Successful integration of advanced quality control technology follows a deliberate methodology that ensures optimal results from day one. We approach implementation as a collaborative partnership where technical expertise meets operational reality.
Our three-phase methodology transforms complex technology into practical solutions that deliver immediate value. Each stage builds upon the previous one, creating a seamless transition from traditional methods to advanced automation.
Phase 1: Defining Your Defects and Quality Parameters
We begin with comprehensive workshops that identify every imperfection type relevant to your specific operation. This collaborative approach establishes clear quality tolerance thresholds for each production line.
Manufacturers work with our experts to catalog all potential issues, from structural flaws to cosmetic concerns. This foundation ensures the inspection process addresses your unique product quality requirements.
Clear criteria definition enables precise configuration of the computer vision algorithms. We establish acceptable versus unacceptable parameters that guide the entire system’s decision-making process.
Phase 2: System Configuration and Camera Positioning
Technical deployment requires meticulous calculation of camera placement based on container dimensions and line speed. Our engineers determine optimal coverage points for complete inspection accuracy.
Different imperfection types demand specific viewing angles for reliable detection. Some issues require top-down imaging while others need side-profile or bottom-view perspectives.
We configure the vision system to match your production tempo without compromising detection capabilities. Proper positioning ensures the technology keeps pace with operational demands.
Phase 3: AI Model Training with Your Bottle Imagery
The final phase focuses on teaching the system to distinguish between acceptable variations and genuine problems. We use actual production imagery to create highly accurate recognition models.
Thousands of sample images feed into sophisticated algorithms during supervised machine learning. Human quality experts verify detection accuracy throughout this critical training period.
This process creates intelligent systems that improve with each production run. The technology develops pattern recognition capabilities specific to your manufacturing environment.
Our implementation services include skilled engineer deployment to your facility, typically completed within one week. We minimize production disruption while ensuring immediate operational effectiveness.
| Implementation Phase | Key Activities | Time Commitment | Expected Outcomes |
|---|---|---|---|
| Phase 1: Definition | Workshops, parameter setting, criteria establishment | 2-3 days | Clear quality standards and detection priorities |
| Phase 2: Configuration | Camera positioning, system calibration, speed matching | 2 days | Optimized hardware setup for your production environment |
| Phase 3: Training | Image collection, algorithm training, accuracy verification | 3 days | Fully functional system ready for operation |
Staff training through our platform ensures your team can manage the technology effectively after installation. We provide comprehensive support that extends beyond initial implementation.
This structured approach delivers accurate defect detection from the first day of operation. Manufacturers gain immediate benefits while building long-term quality improvement capabilities.
Key Inspection Points: From Empty Bottle to Final Case
Manufacturing excellence requires a layered approach to quality assurance, where multiple checkpoints work together to ensure perfect products reach consumers. We implement strategic inspection protocols that address potential issues at every production stage.
Pre-Filling: Inspecting for Cracks, Contaminants, and Dimensional Flaws
Empty container assessment forms the foundation of effective quality management. This initial screening identifies structural weaknesses before valuable product enters the manufacturing stream.
We detect microscopic fractures that could compromise integrity during filling or transportation. Foreign particle identification prevents contamination that might affect entire production batches.
Dimensional verification ensures proper fit with filling equipment and final packaging. This prevents operational delays and maintains consistent production flow.
Post-Filling: Verifying Fill Levels and Seal Integrity
Volume accuracy represents both regulatory compliance and customer satisfaction. Our systems measure liquid levels with precision exceeding human capabilities.
Closure inspection safeguards against oxidation and leakage issues. We examine seal surfaces for imperfections that might compromise product preservation.
Neck integrity verification prevents failures during handling and distribution. This critical checkpoint ensures containers maintain their protective function.
Final Appearance: Ensuring Capsule, Label, and Barcode Accuracy
Visual presentation directly influences consumer perception and brand reputation. We verify decorative element placement with sub-millimeter accuracy.
Label positioning affects both aesthetic appeal and regulatory compliance. Print quality assessment ensures legibility and professional appearance.
Barcode scanning verification enables seamless supply chain integration. This final check guarantees traceability throughout distribution networks.
Case packaging inspection represents the ultimate quality gate before products enter the market. We confirm proper grouping, labeling, and protective packaging.
Our comprehensive approach creates multiple layers of protection throughout manufacturing. Each inspection point builds upon previous checks to deliver exceptional product quality.
Overcoming Common Challenges in Automated Bottle Inspection
Advanced inspection technologies must overcome particular operational challenges to deliver consistent performance in real-world production environments. We approach these hurdles with specialized engineering solutions that maintain reliability under demanding conditions.

Maintaining Accuracy at High Production Line Speeds
Manufacturing operations often struggle with quality assurance at elevated velocities. Conventional approaches face limitations with motion blur and insufficient processing time.
Our approach employs high-frame-rate cameras and predictive tracking algorithms. This maintains detection precision at rates exceeding 1,000 units per minute.
Parallel processing architecture ensures comprehensive analysis without compromising line efficiency. This represents a significant advancement in production quality management.
Inspecting Opaque, Dark-Colored, and Complex Bottle Designs
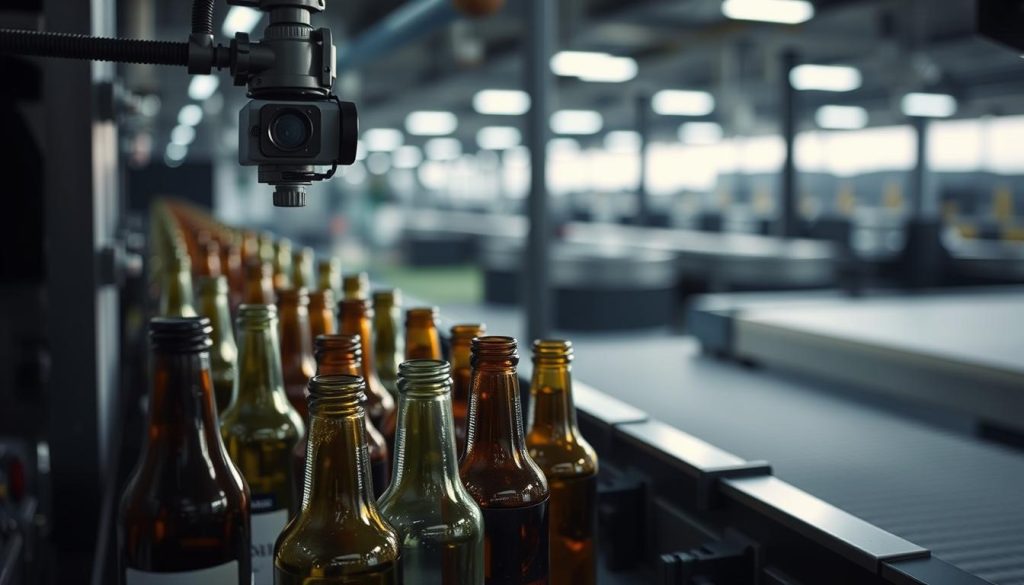
Non-transparent containers present unique visibility challenges for standard inspection methods. These require specialized imaging techniques beyond conventional approaches.
We implement infrared spectroscopy and structured light projection for internal assessment. Multi-angle imaging strategies ensure comprehensive coverage of textured surfaces.
Customized lighting arrangements reveal imperfections on embossed logos and irregular shapes. This technical sophistication addresses the complete spectrum of design complexities.
Adapting to Frequent Label and Packaging Changes
Marketing variations and seasonal updates demand flexible quality assurance systems. Traditional approaches often require extensive retraining for each change.
Our solutions feature adaptive algorithms that quickly learn new visual patterns. This reduces downtime between production runs with different packaging designs.
Recipe-based configuration allows automatic parameter adjustment for diverse product types. This flexibility supports marketing innovation without compromising quality standards.
Environmental factors like temperature fluctuations and humidity changes receive automatic compensation. Real-time monitoring ensures consistent performance throughout production cycles.
We transform these technical challenges into operational advantages. Our approach turns quality control obstacles into opportunities for brand protection and market differentiation.
The Tangible Benefits of Automating Your Quality Control
Modern manufacturing operations gain substantial advantages through automated quality assurance systems. We help businesses transform their approach to perfection assurance.
These solutions deliver measurable improvements across multiple operational dimensions. The benefits extend far beyond basic compliance requirements.
Drastic Reduction in Labor Costs and Human Error
Automated systems typically deliver return on investment within 12-18 months. They replace multiple manual inspection stations with unified technological solutions.
Human error elimination represents a significant quality improvement. Automated systems maintain consistent standards without fatigue or distraction.
Subjective interpretation variations disappear with computer-based assessment. This consistency ensures uniform product quality across all production periods.
Enhanced Traceability and Data-Driven Process Improvements
Digital quality records document every container produced. This enables precise trend analysis throughout product distribution.
Supply chain accountability becomes significantly enhanced. Manufacturers gain unprecedented visibility into their operations.
Systematic pattern analysis identifies recurring imperfection types. This information guides specific machinery adjustments upstream.
Process modifications become data-informed rather than guesswork. The technology transforms quality control into a strategic asset.
Protecting Brand Reputation by Mitigating Recall Risks
Brand reputation protection becomes measurable through reduced recall risks. Automated inspection catches issues before products reach consumers.
This prevention approach stops brand-damaging incidents before they occur. The financial impact of potential recalls becomes significantly minimized.
Operational efficiency improvements include increased production throughput. Automated systems enable higher line speeds without compromising completeness.
Twenty-four-seven inspection consistency eliminates shift-based variations. This ensures uniform standards across all production periods.
| Benefit Category | Primary Impact | Measurement Metric | Typical Improvement |
|---|---|---|---|
| Labor Optimization | Cost reduction | ROI timeframe | 12-18 months |
| Error Reduction | Quality consistency | Detection accuracy | 99.9%+ |
| Data Utilization | Process improvement | Trend identification | Real-time analysis |
| Brand Protection | Risk mitigation | Recall prevention | Near-elimination |
| Operational Efficiency | Throughput increase | Line speed capability | 1000+ units/minute |
The cumulative benefits create competitive advantages that extend beyond quality assurance. They encompass cost leadership and supply chain reliability.
Manufacturers gain both immediate operational improvements and long-term strategic positioning. This dual advantage makes automated systems essential for modern production environments.
Getting Started: What You Need for a Custom Solution
Manufacturers seeking tailored inspection systems benefit from thorough preparation and clear communication. We guide clients through a structured information-gathering process that ensures precise system configuration and accurate quotation.
This collaborative approach establishes the foundation for successful implementation. It transforms operational requirements into engineered solutions that deliver consistent results.
Information to Prepare for an Accurate Quote and System Design
Comprehensive container characterization forms the initial preparation phase. Clients provide detailed specifications including dimensions, colors, and material properties.
Defect cataloging represents another critical component. Manufacturers supply samples of both acceptable and flawed items to establish detection parameters.
Production environment assessment includes line speed measurement and available installation space evaluation. Integration requirements with existing machinery receive careful consideration.
The quotation process involves detailed technical discussions about camera specifications. These decisions directly impact detection precision and overall system performance.
Understanding Installation, Training, and Long-Term Support
Installation typically requires approximately one week for complete integration. Our engineers minimize production disruption through careful scheduling and efficient implementation.
Training programs accommodate various learning preferences through multiple delivery methods. The KeyeTech AI platform offers comprehensive online instruction.
In-person knowledge transfer sessions conducted by experienced engineers provide hands-on learning opportunities. This dual approach ensures operational competence.
Long-term support encompasses comprehensive warranty coverage with specific duration periods. Complete systems receive one year protection while hardware components enjoy three years coverage.
We provide spare parts availability guarantees and remote support capabilities. This ensures continuous operation throughout the system lifecycle.
Post-installation optimization services fine-tune performance based on operational data. This ongoing partnership adapts to evolving production requirements.
Contact us today to begin your custom solution journey at opsiocloud.com/contact-us/. Our experts will guide you through every preparation step.
Conclusion: Transforming Your Production Line with Vision AI
We believe the journey toward operational excellence begins with embracing intelligent technology that safeguards your reputation and elevates your standards. This approach transcends traditional methods, offering unparalleled precision and reliability.
Our systems analyze thousands of high-resolution images per minute, identifying even microscopic inconsistencies with remarkable accuracy. This process leverages deep learning to continuously improve, ensuring your production line maintains peak efficiency.
The future holds exciting advancements in imaging and algorithmic sophistication, promising even greater integration with manufacturing execution systems. We view this technology not as an expense but as a strategic investment in long-term competitiveness.
Contact our experts today at opsiocloud.com/contact-us/ to begin your transformation toward flawless product quality and sustainable growth.

