We Develop Advanced Defect Detection System Solutions
August 9, 2025|12:15 pm
Unlock Your Digital Potential
Whether it’s IT operations, cloud migration, or AI-driven innovation – let’s explore how we can support your success.
August 9, 2025|12:15 pm
Whether it’s IT operations, cloud migration, or AI-driven innovation – let’s explore how we can support your success.
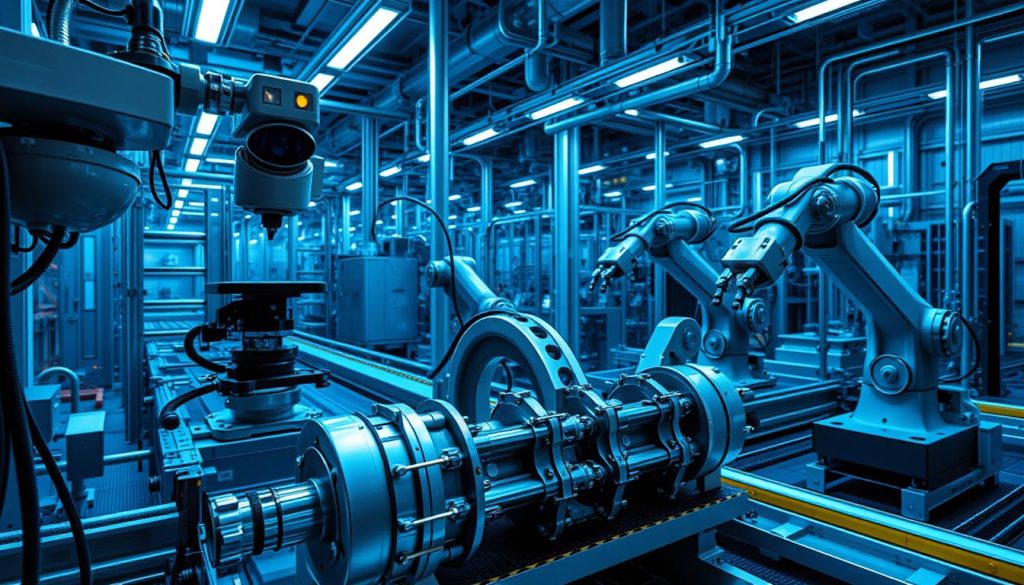
Manufacturing excellence requires more than speed – it demands precision. We create solutions that identify production inconsistencies early, protecting both product integrity and profitability. By merging artificial intelligence with industrial expertise, our technology elevates traditional quality assurance methods to new levels of accuracy.
Every production line faces distinct challenges, whether managing subtle material variations or complex assembly requirements. Our approach adapts to these needs through self-learning algorithms and automated visual inspection systems that evolve with your operations. This dynamic capability ensures consistent performance across changing materials, lighting conditions, and product designs.
We prioritize partnership over transactions. Through detailed analysis of your workflows and quality benchmarks, we deliver customized implementations that complement existing processes. Our solutions generate actionable data, revealing patterns that help optimize equipment performance and reduce material waste.
The foundation of quality assurance has long been manual methods prone to human error. For years, factories used handheld tools and visual checks to spot product flaws. Workers might spend hours squinting through microscopes or comparing parts to physical templates. These approaches worked when production speeds were slower, but today’s high-volume operations demand better solutions.
We bridge this gap with intelligent technologies that analyze components faster than any human team. Our tools process thousands of items per hour, identifying imperfections invisible to the naked eye. Unlike static measurement devices, these solutions adapt to variations in materials and lighting through self-correcting algorithms.
| Aspect | Traditional Methods | Advanced Solutions |
|---|---|---|
| Speed | 20-50 parts/hour | 1,200+ parts/hour |
| Accuracy | 85-90% | 99.7%+ |
| Adaptability | Fixed parameters | Dynamic learning |
| Data Insights | Basic pass/fail | Predictive analytics |
Modern facilities benefit most when combining precision inspection technologies with existing workflows. Our approach doesn’t replace skilled workers – it amplifies their capabilities. Real-time analytics flag potential issues before they escalate, reducing scrap rates by up to 68% in some applications.
What sets our methods apart is their capacity to evolve. As automated visual assessment tools process more data, they refine their decision-making patterns. This continuous improvement cycle helps manufacturers stay ahead of stricter compliance standards and thinner profit margins.
Industrial quality assurance has undergone radical transformation since the first assembly lines. Where teams once relied solely on human eyesight and handheld gauges, modern production floors now deploy intelligent technologies that learn while they work. This shift addresses critical gaps in consistency and scalability that manual approaches couldn’t resolve.
Early computerized tools brought welcome consistency to repetitive checks but lacked adaptability. Today’s solutions combine high-resolution imaging with pattern recognition that improves through exposure to diverse scenarios. A semiconductor plant using 1990s-era equipment might process 200 units hourly – modern configurations handle 15,000+ with superior accuracy.
Three key drivers propelled this advancement:
Human-led checks struggled with natural limitations. Fatigue sets in after 20 minutes of concentrated focus, reducing anomaly spotting by 32% according to industry studies. Subjective judgment also created inconsistencies – two inspectors might disagree on borderline cases.
We’ve observed how environmental factors like lighting changes or material variations further complicate manual processes. Our automated alternatives maintain 99.4% consistency regardless of shifts in ambient conditions or product designs.
Modern manufacturing faces unprecedented demands for precision and speed, driving the adoption of intelligent solutions that outperform conventional methods. Artificial intelligence transforms how facilities maintain standards, combining rapid analysis with predictive capabilities that reshape operational benchmarks.
Our solutions harness computer vision to examine products at microscopic levels, processing 40x faster than manual reviews. These algorithms identify irregularities in textures, dimensions, and surface finishes – even subtle variations invisible under standard lighting conditions.
Three innovations define modern AI-powered quality control:
Unlike rigid inspection systems, our technology learns from borderline cases. When a pharmaceutical client encountered inconsistent tablet coatings, our algorithms reduced false rejects by 47% within three weeks through continuous feedback loops.
We prioritize solutions that complement human expertise. Operators receive prioritized alerts about critical anomalies, enabling faster corrective actions. This collaborative approach maintains 99.93% accuracy rates while cutting inspection costs by 35-60% across automotive and electronics sectors.
Integration simplicity remains crucial. Our platforms connect with existing cameras and sensors, transforming legacy equipment into smart inspection systems within hours. This preserves capital investments while delivering AI’s full analytical potential.

Visual inspection technologies have reached unprecedented accuracy levels through advanced computational methods. Our solutions analyze product surfaces at 0.1mm resolution while maintaining 1,500+ inspections per minute. This precision stems from neural networks trained on millions of industrial images across materials like metals, polymers, and composites.
Modern manufacturing demands tools that adapt to evolving production variables. We implement convolutional neural networks (CNNs) that identify texture variations invisible under standard lighting. These models learn from each inspection cycle, improving their ability to distinguish acceptable deviations from critical flaws.
Three core principles guide our approach:
When a client faced recurring weld inconsistencies, our vision tools reduced false positives by 63% through temporal pattern analysis. The system now predicts potential weak points 15 seconds before completion, enabling in-process corrections.
We optimize hardware configurations for each facility’s unique needs. Proper camera placement and lighting angles increase data quality by 40%, ensuring reliable input for decision-making algorithms. This holistic approach maintains throughput while achieving 99.96% classification accuracy across automotive and electronics applications.
Modern manufacturing thrives on machine learning to achieve operational excellence. Traditional approaches struggle with variable conditions and evolving quality standards. Our solutions transform production lines into self-optimizing systems through continuous data analysis.
AI-powered tools process 12,000+ units hourly while maintaining 99.8% accuracy. Unlike static inspection methods, these models learn from every item scanned. This dynamic capability allows facilities to scale output without compromising quality standards.
These techniques enable real-time adjustments during production runs. When a consumer electronics client faced solder joint variations, our algorithms reduced false rejects by 58% within 14 days. The system now predicts potential issues 23 seconds before assembly completion.
Continuous improvement cycles separate our technology from conventional tools. Models update automatically with new production data, adapting to material changes and design updates. This eliminates manual recalibration while maintaining 99.94% classification consistency across shifts.
Our platforms convert operational data into actionable insights. Managers receive prioritized recommendations for process optimization, from material usage to equipment settings. This dual focus on quality and efficiency helps manufacturers reduce waste while accelerating time-to-market.
Modern manufacturing success hinges on seamlessly integrated technologies working in concert. The right combination of hardware and software creates a cohesive solution that identifies production inconsistencies with surgical precision. Our approach focuses on three core elements that transform raw data into actionable quality insights.

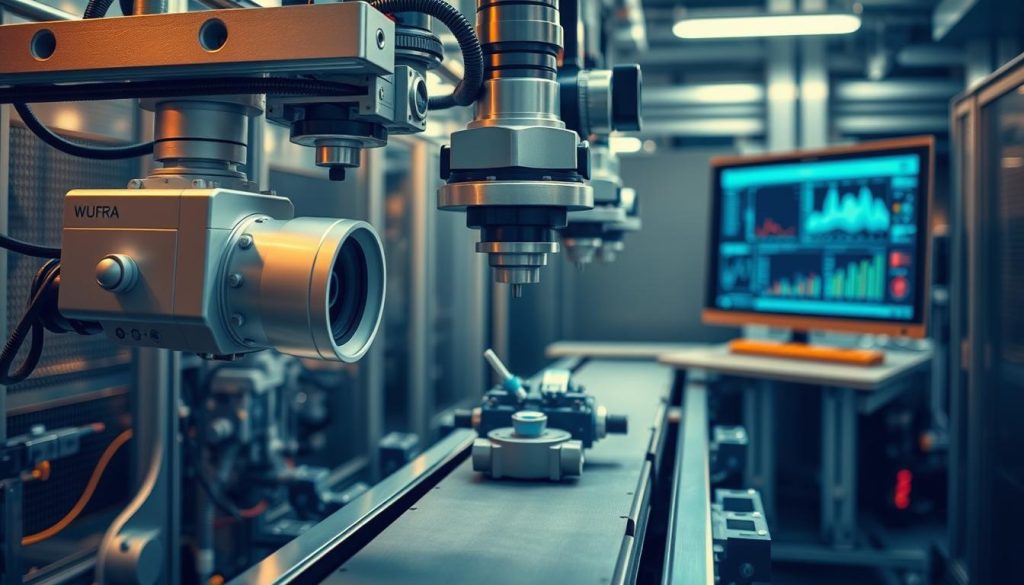
High-resolution cameras form the eyes of modern quality assurance solutions. We select imaging equipment capable of capturing 0.05mm details at 120 frames per second, ensuring no flaw escapes scrutiny. These devices work alongside spectral sensors that analyze material properties beyond visible light – crucial for identifying subsurface anomalies in composites or layered materials.
Data acquisition systems process information from multiple sources simultaneously. Thermal sensors detect heat variations in electronic components, while vibration monitors spot structural weaknesses. This multi-layered approach provides 360° product analysis, combining:
Advanced preprocessing algorithms enhance raw inputs before analysis. Our software automatically adjusts for lighting fluctuations and removes visual noise, improving classification accuracy by 42% in variable production environments. Feature extraction models then isolate critical patterns, from weld seam consistency to coating thickness variations.
We design feedback mechanisms that trigger instant responses when issues emerge. Automated reject arms remove faulty items within 0.8 seconds of identification, while real-time dashboards alert supervisors to emerging trends. This closed-loop architecture reduces waste by 58% compared to traditional inspection methods.
Transforming production lines with intelligent quality control begins with strategic implementation. We guide partners through a streamlined process that converts raw data into reliable performance – no prior machine learning expertise required.
Effective implementation starts with representative image collection. Capture variations in lighting, angles, and product states using industrial-grade cameras. This foundation ensures models recognize anomalies under real-world conditions, not just ideal scenarios.
Annotation precision determines success. Our teams use collaborative platforms like Roboflow Annotate to label critical features, creating structured datasets for model training. This step transforms visual patterns into teachable parameters, establishing clear defect classifications.
Iterative refinement separates functional tools from exceptional ones. Each training cycle enhances recognition accuracy through feedback loops. We deploy models only after achieving 99%+ validation scores, ensuring reliable performance from day one.
Continuous improvement protocols maintain relevance as production evolves. Our systems automatically incorporate new data, adapting to material changes and design updates without manual recalibration. This dynamic approach keeps quality benchmarks aligned with shifting operational needs.
Seamless integration completes the process. We connect vision systems to existing infrastructure through API-driven architectures, minimizing downtime. Real-time dashboards then deliver actionable insights, empowering teams to optimize processes while maintaining rigorous standards.
Our AI-driven solutions analyze visual patterns at microscopic levels using convolutional neural networks, achieving up to 99.7% identification accuracy. Unlike rule-based systems, they continuously learn from new data to adapt to evolving product specifications and material variations.
Yes, we design systems with API-first architectures compatible with Siemens PLCs, Rockwell Automation frameworks, and SAP production environments. Our team conducts workflow audits to ensure seamless implementation without disrupting operational timelines.
Manufacturers using our technology typically see 68% faster inspection cycles and 92% consistency in quality assessments. One automotive client reduced warranty claims by .3M annually through early identification of coating irregularities in transmission components.
We combine multi-spectral imaging with structured-light 3D scanning to capture surface anomalies under varied lighting conditions. For electronics manufacturing, our phase-shifting interferometry detects micron-level solder joint defects invisible to conventional cameras.
Effective model development requires 500-1,000 annotated images per defect class. We use synthetic data generation through NVIDIA Omniverse to simulate rare failure modes, accelerating training while maintaining compliance with ISO 2859 sampling standards.
Our systems employ temporal analysis to distinguish transient artifacts from actual flaws. Dual-model architectures cross-validate findings – a primary network flags potential issues while a secondary verification model analyzes contextual production data before final classification.
Absolutely. We configure decision thresholds using your historical pass/fail data and industry regulations like AS9100 or IATF 16949. Clients receive a web dashboard to adjust sensitivity parameters as tolerance requirements evolve.
Most clients achieve full ROI within 3-9 months through reduced scrap rates and accelerated throughput. A recent deployment at a pharmaceutical packaging facility eliminated 12,000 hours of manual inspections annually while improving compliance documentation accuracy by 79%.